
 All the way through February I have, in the name of Crafty Obsessions, been obsessing over pompoms - oooohing and aaaaahing over pompoms of all sizes, colours and materials and adding lots of lovely projects and inspirational ideas to my Pompomtastic pinterest board.
Judging by the response to the Pastel Pompom Garland tutorial I linked up with Tuesday Tutorials last week I guess you are all pretty much obsessing over pompoms too!
So without further ado here is a little pompom project that will keep you busy for a few evenings!
DIY Heart Shaped Pompom Pillow
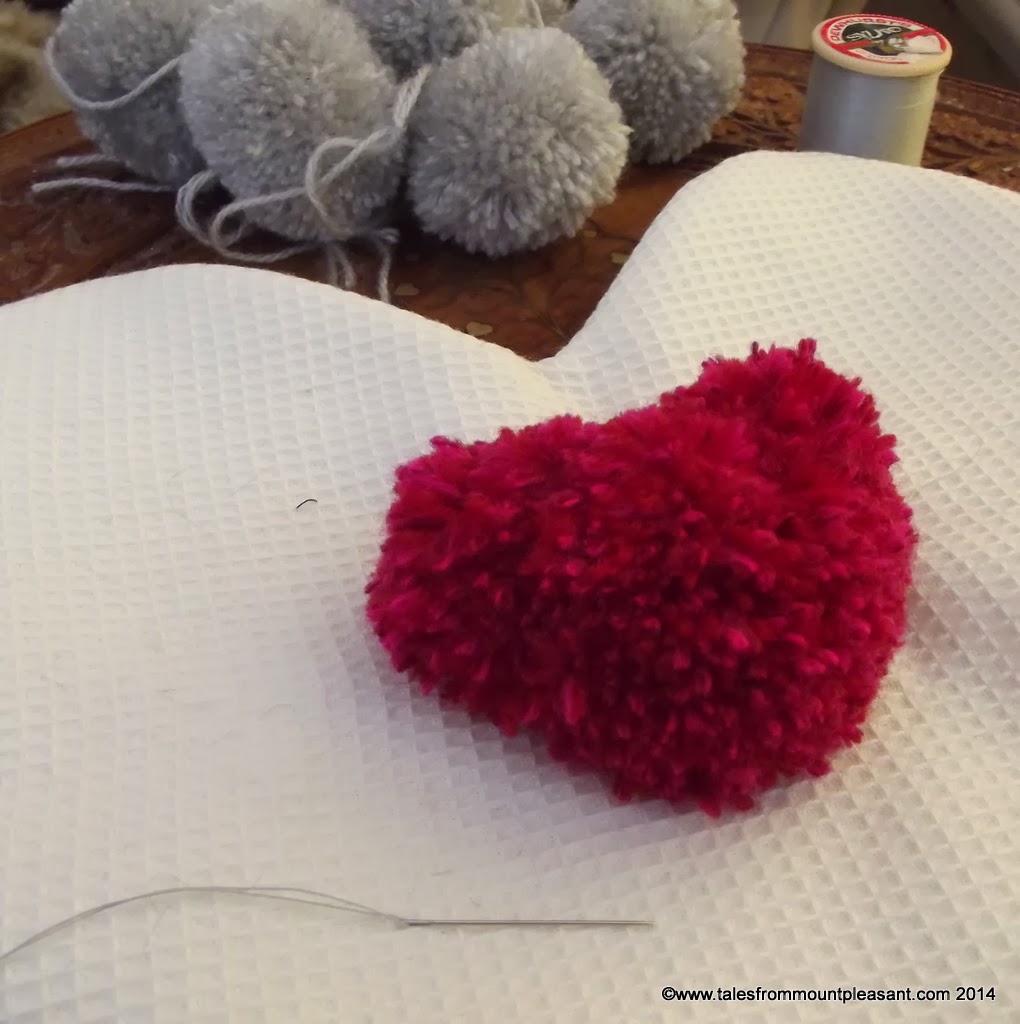
First of all you will need lots of small pompoms - I used a 35mm pompom maker to produce these and this cushion used about 40 pompoms made with a 100g ball of very lightweight 4ply yarn. You can use whatever yarn you want but I find a slightly fluffy 4ply make the best pompoms - nice and dense and very soft. Try yarns meant for baby knits for super softness! If you want you can use a heart shaped pompom for the centre of your pillow like I have - want to know how to make one? Click hereTo make the heart shaped pillow

Stitch them together, leaving a gap big enough to turn and stuff your heart.
If you want to use a central heart pompom now is the time to add it to your cushion. I did this before stuffing because I thought it would be easier! *WRONG* so add the stuffing and stitch up the gap before you start adding your pompoms.
Here's how to sew them on securely...

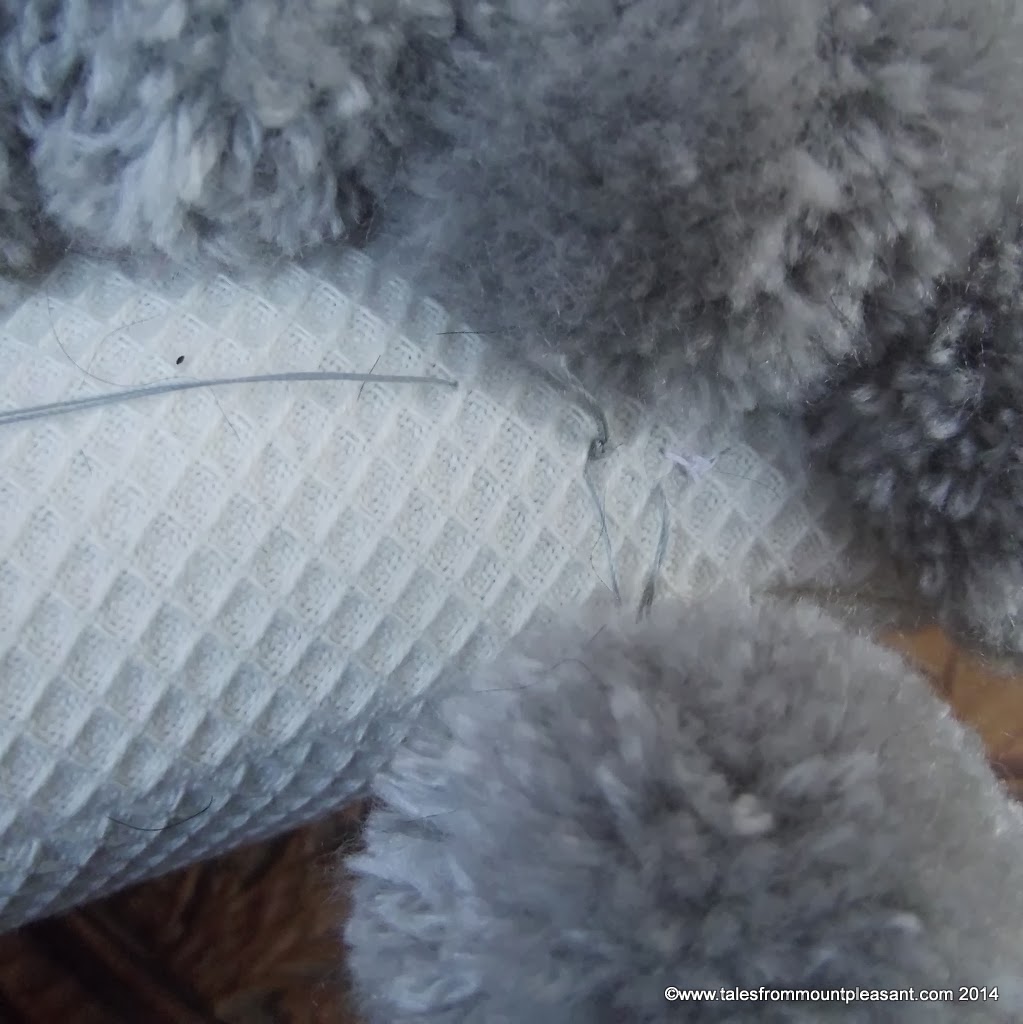
Take a longish length of cotton and thread your needle, doubling up the thread and knotting the end. Stitch the thread onto the surface of the pillow, back stitching a couple of times so it's secure then bring the needle up where you want the first pompom to be. Don't worry about ends showing or messy stitching - the pompoms will cover it all up!

Pass the needle through the centre of your pompom pulling the thread through...

...then take the needle and thread back through the centre again to come out roughly where you went in.
Then take your needle back through the cushion surface and out again where you want the next pompom to be. Pull the thread until the pompom sits tight against the pillow surface then add a couple of back stitches again to secure the thread in place (and stop the previous pompom being pulled when you tighten up the thread on the next one.) Make sure you tie off the thread securely when you need to add a new length.

Continue adding pompoms until the whole surface of your pillow is covered.

Hug your pillow and feel very proud of yourself!
I loved this project, which, although time consuming, is very easy to do whilst watching tv. I spent several evenings making up pompoms and even made a few whilst waiting for the kettle to boil!
The finished result is very soft and snuggly and much sturdier than I thought it would be.

In fact I love it SO much I think my next pompom project may be a super soft pompom rug for my bedroom! Although I really don't want to think TOO hard about just how many pompoms I might have to make for that one...
I've been waiting for this tutorial all week! This looks so snuggly lovely- I shall have to bookmark it to do at some point! Nice blimmin work! xx
ReplyDeleteyay! If you do make it please make sure you send me pics!!!
Delete