Showing posts with label hearts. Show all posts

Saturday, July 20, 2013

Knitted Dishcloth Tutorial

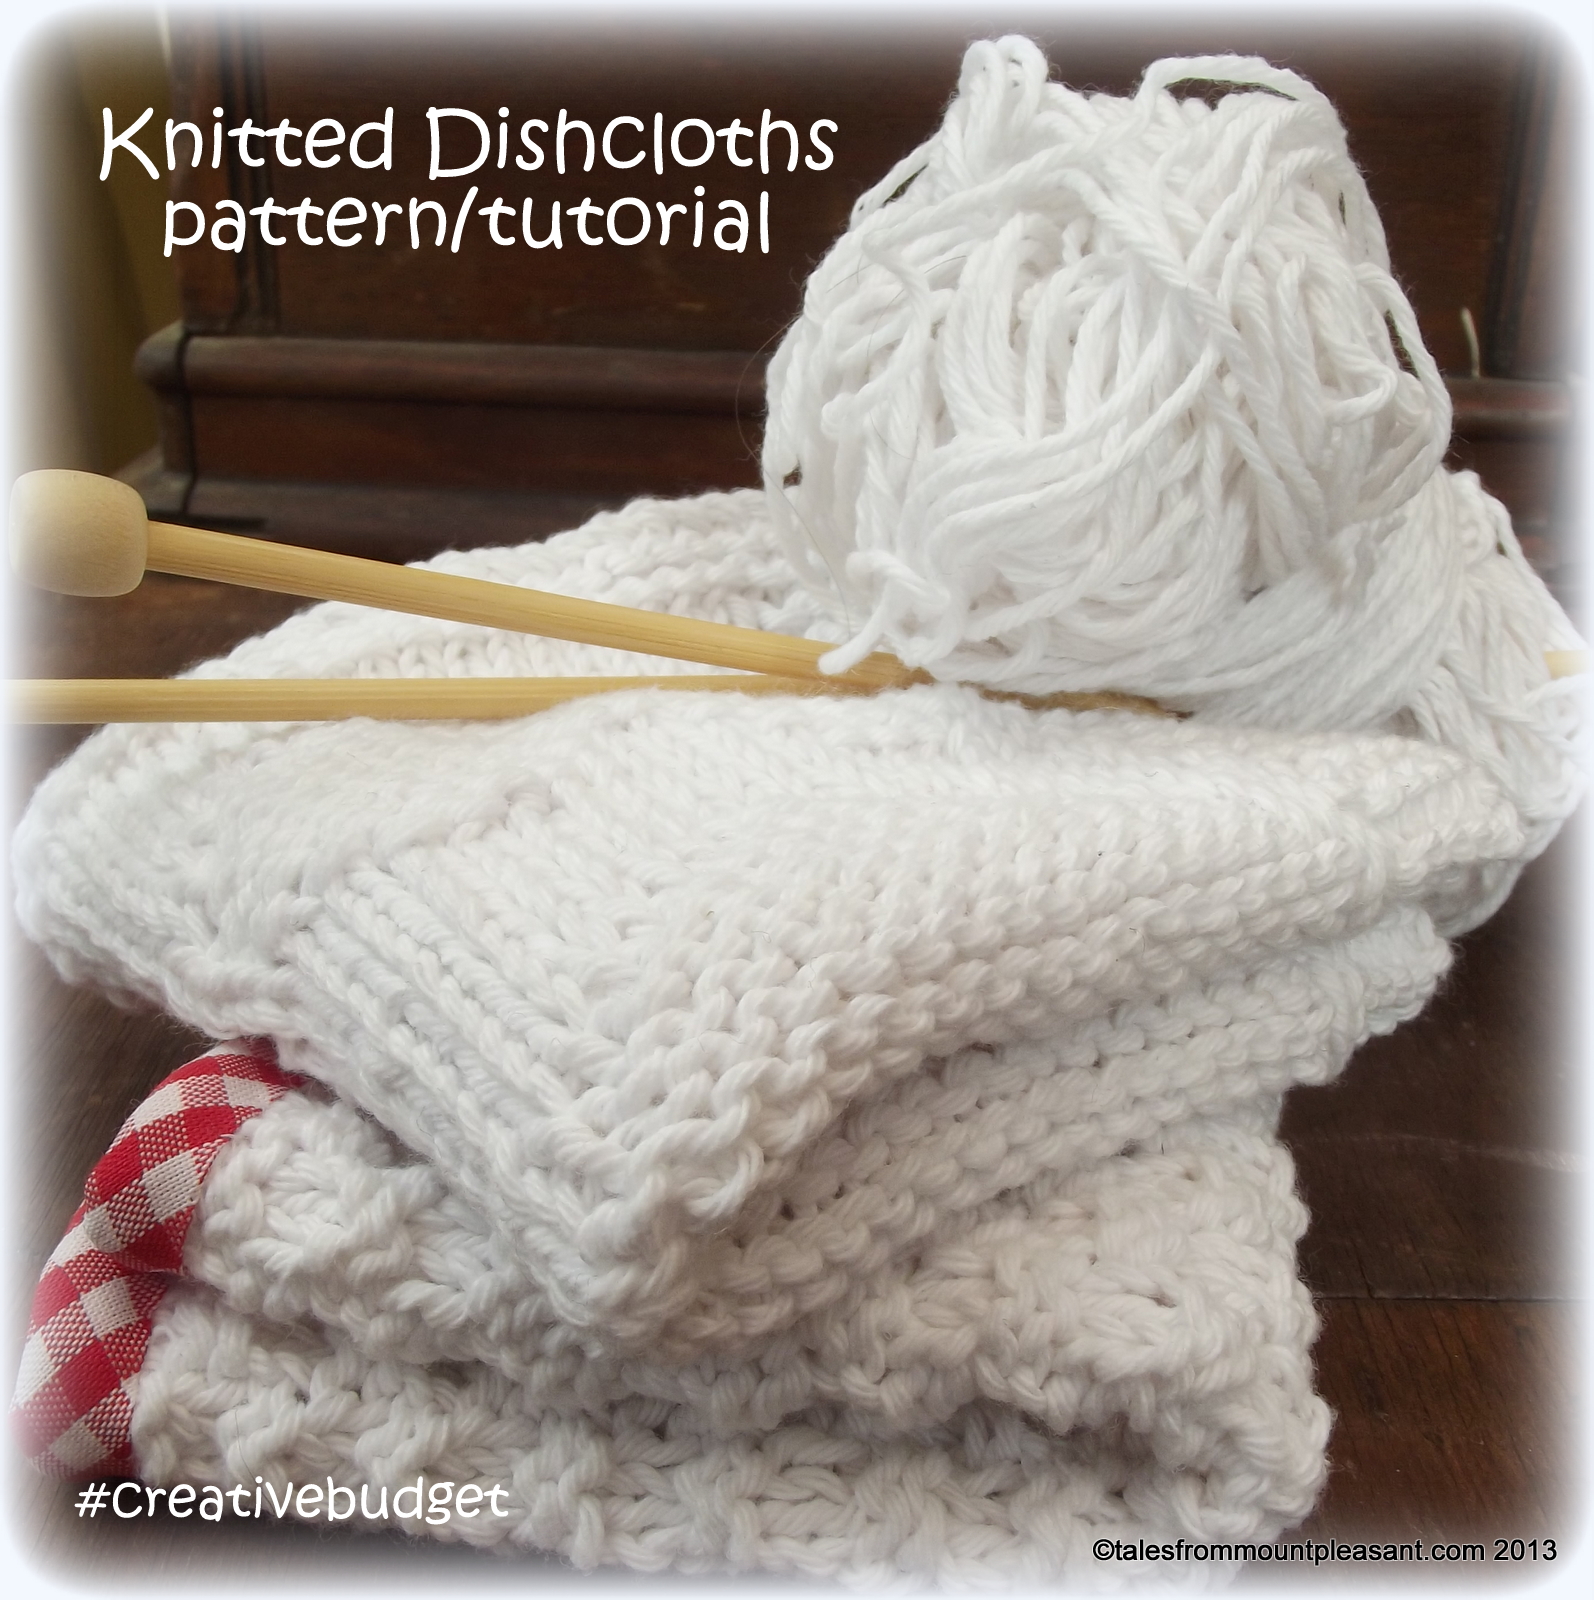
Here is the last part of my Creative Budget 'Kitchen makeover' series.  You'll need your knitting needles for this one!!

Don't panic though these two cute dishcloths really are very simple to make - if you can knit and purl you can rustle them up in a couple of evenings whilst watching the tv. If you want to learn how to knit so you can have a go there are many online tutorials. Here's a great one from Debbie Stoller, author of the 'Stitch 'n Bitch' book series. (It doesn't include purl stitches but there are many others that are easy to follow once you have the basic technique!)


Hand knitted or crochet dishcloths last so much longer than shop bought ones and look so much nicer drying over your dish drainer. Wash them regularly in with your tea towels to keep them clean (don't expect them to stay pristine and white for long though!). I have used craft cotton but any DK cotton would do. Or any DK yarn at all really. Use up what you have around the place and don't feel that you have to stick with white!

I made both cloths with one ball of craft cotton from Abakhan and there is probably enough left over for another cloth too (I may make another cloth with some of the pale blue polka dot binding I have left over from the pretty pot holder make) The simple basket weave effect pattern makes gives this cloth a good texture - excellent for getting those stubborn bits of food off your plates when washing up. The bias binding neatens up the edges nicely and adds a lovely finishing touch but it it completely optional - your cloth will work just fine without it!

Textured dishcloth with colourful binding

Using 4mm needles and craft cotton or another dk cotton yarn of your choice cast on 44 stitches

Row 1 : k2, p2 to the end
Row 2 : p2, k2 to the end
Row 3 : p2, k2 to the end
Row 4 : k2, p2 to the end

Repeat those four rows until your work measures approx 20cm (around 60 rows)

Cast off.

Sew in the ends.

Binding the cloth is easy using the same method as for my Pretty Pot Holder - start from one corner if you want to add a hanging loop like the pot holder or at the centre of one side for a neat finish with no loop. Stitch the binding by hand or machine if you prefer. When you get back to the start, tuck the end under and secure the overlap with a few extra stitches.


Heart Pattern Dishcloth

This cute heart patterned cloth is almost too pretty to do the dishes with! If you really can't bring yourself to use it in the kitchen it would also make a lovely face cloth. Wrap it up with some handmade soap - I love these by Saffronbarr - and you have a perfect gift for a friend!

Please don't be put off by the rows of numbers! It is only knit stitches and purl stitches. Just take each row at a time...

Using 4mm needles and craft cotton or any other DK cotton yarn cast on 45 stitches.

Row 1-7 : Knit
Row 9 : Knit
Row 10 : k5, p35, k5
Row 11 : k13, p2, k15, p2, k13
Row 12 : k5, p7, k4, p13, k4, p7, k5
Row 13 :  k11, p6, k11, p6, k11
Row 14 : k5, p5, k8, p9, k8, p5, k5
Row 15 : k9, p10, k7, p10, k9
Row 16 : k5, p3, k12, p5, k12, p3, k5
Row 17 : k7, p14, k3, p14, k7
Row 18 : k5, p2, k14, p3, k14, p2, k5
Row 19 : k6, p16, k1, p16, k6
Row 20 : k5, p1, k16, p1, k16, p1, k5
Row 21 : k6, p16, k1, p16, k6
Row 22 : k5, p1, k7, p2, k7, p1, k7, p2, k7 p1, k5
Row 23 : k7, p5, k4, p5, k3, p5, k4, p5, k7
Row 24 : k5, p3, k3, p6, k3, p5, k3, p6, k3, p3, k5
Row 25 : Knit
Row 26 : k5, p35, k5
Row 27 : Knit
Row 28 : k5, p35, k5

repeat rows 11-28 twice more.

Knit 7 rows and cast off.

Sew in ends.


There you have it - a simple way to pretty up your kitchen and make washing the dishes a little more pleasurable. Or a little less of a chore at least...

*Abakhan send me all the materials I need for my Creative Budget posts. No other payment has been received. All words, pictures and tutorials are my own.

Thursday, June 13, 2013

Trying to keep up...

Well I am ashamed to say that I am already slipping behind on the 30 posts in 30 days challenge. So far I have missed three days. And it's only the 13th of June!

In my defence I have been prepping for a craft fair that wasn't even booked when I set myself the challenge and that is really taking all my spare time.  It's been a while since my last crafty outing and as sales on Folksy have been quite steady so far this year I really didn't notice how little stock I had left!

I showed you the hearts and birds I started work on last week. Today my marvellous mother in law picked Roo up from school and took him over to his cousins house for tea and play, giving me a whole 8 hours to sew like a mutha!! My fingers are sore, my back a bit cramped and there are bits of fluff, thread and the odd button scattered about the house. It was hard slog but look what I did today...


from this....


...to this.


ah, who am I trying to kid? I spent 8 hours playing with buttons and felt and pretty fabric and colourful embroidery threads. Is it really work if you love doing it so much?


In other news, my other challenge is going well - today was also my fourth fasting day. I'd like to be able to say just how difficult it's been and how I am such a martyr to weight loss, suffering in silence whilst watching all those around me tucking into lovely food I can't have, but it's not been like that at all!! I lost 2 1/4lb in my first week, which is just fine by me. If I can continue at that rate I will be back to pre-baby weight by October. Just in time for a special 60's dance I am attending, celebrating the life of local music supremo Joe Meek.  

And yes, I have set myself yet another challenge - I am going to make my own dress for the event!

*gulps*

 Never let it be said I don't enjoy a challenge...

On that note I will leave you with my favourite photo of today's makes.


Wednesday, June 05, 2013

New stock - Lavender stuffed hearts and birds

I have a craft fair in less than 2 weeks. It's the first one I've done this year and I am sharing a table with a friend who has just started her own craft business. She makes the most adorable baby dresses - mostly inspired by her adorable baby girl ;-)

I still have some stock left over from Christmas - mostly of the red and white felt birds and hearts like these - but I decided that this fair is an opportunity to try out a few new items.

After the success of my reversible tea towel I bit the bullet and bought a couple of metres of pure Irish linen to make some more pretty tea towels (or dish cloths if you are American!) - I am planning on doing applique motifs, ribbon and ric rac trim, maybe a little embroidery too.  Who says drying the dishes has to be boring? I can't wait to get going on those and show you the results!

In the meantime I have been making a few of my best selling lavender stuffed hearts and birds using some of the bright, pretty and just plain quirky fabrics in my stash...


Completely hand stitched using some lovely vintage Sylko mercerised cotton with fab names like 'green plume' and 'wedgewood blue'.

Did you spot the gorgeous vintage thimble I found in Nan's old sewing box?


I can't believe how much quicker I could sew whilst wearing it! The stitches were much neater and more even too as I got a good rhythm going and I didn't have to stop every few seconds because I'd pricked my finger again!


Adding the dried lavender - using a paper funnel is much easier and less messy than trying to just drop it in! I lightly stuff with super soft carded polyester stuffing first then add a generous scoop of home grown and dried lavender flowers.


I dry lavender from my mother in law's garden by tying it up in bunches then hanging it in a paper carrier bag away from damp and drafts for a few months. The bag catches any loose bits that fall off so it doesn't make a mess! Once properly dried out I strip the flowers from the stalks and store in a large glass jar.  Just coz it looks pretty, especially with a lovely piece of ribbon from Jane Means tied around the neck! :-)

This year I hope to start my own lavender border - it will be a few years before it is established enough to harvest from though!


Once the lavender is in I add a bit more stuffing then stitch up the gap.


Once they are all stuffed and sewn up I will embellish them and add little metal hoops to hang them by.

But that's a job for another day.

I do so love my work!

Related Posts Plugin for WordPress, Blogger...
Blogging tips