Showing posts with label Kitchen. Show all posts

Saturday, July 20, 2013

Knitted Dishcloth Tutorial

Here is the last part of my Creative Budget 'Kitchen makeover' series.  You'll need your knitting needles for this one!!

Don't panic though these two cute dishcloths really are very simple to make - if you can knit and purl you can rustle them up in a couple of evenings whilst watching the tv. If you want to learn how to knit so you can have a go there are many online tutorials. Here's a great one from Debbie Stoller, author of the 'Stitch 'n Bitch' book series. (It doesn't include purl stitches but there are many others that are easy to follow once you have the basic technique!)


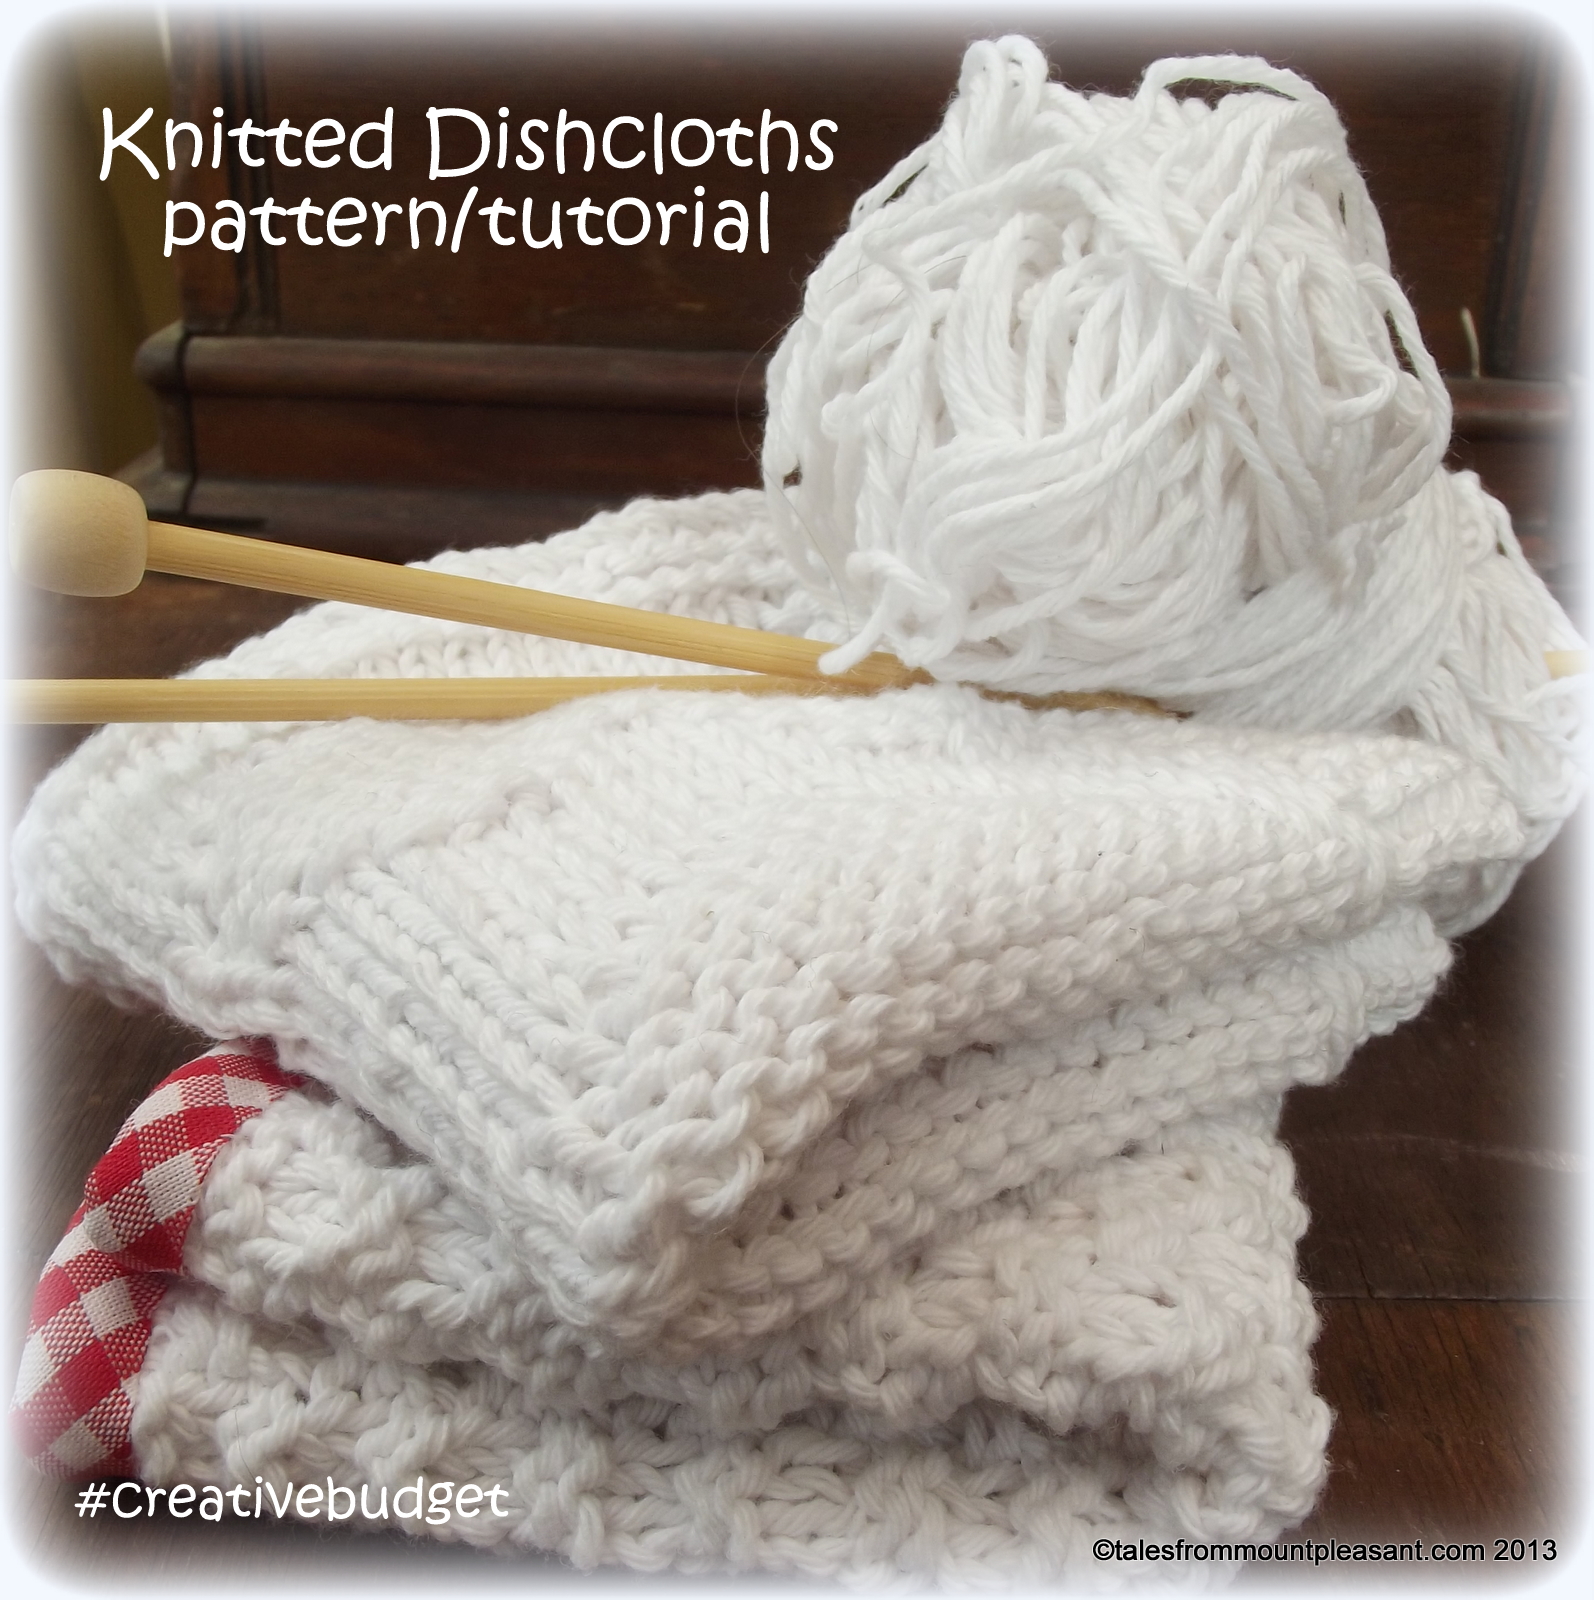
Hand knitted or crochet dishcloths last so much longer than shop bought ones and look so much nicer drying over your dish drainer. Wash them regularly in with your tea towels to keep them clean (don't expect them to stay pristine and white for long though!). I have used craft cotton but any DK cotton would do. Or any DK yarn at all really. Use up what you have around the place and don't feel that you have to stick with white!

I made both cloths with one ball of craft cotton from Abakhan and there is probably enough left over for another cloth too (I may make another cloth with some of the pale blue polka dot binding I have left over from the pretty pot holder make) The simple basket weave effect pattern makes gives this cloth a good texture - excellent for getting those stubborn bits of food off your plates when washing up. The bias binding neatens up the edges nicely and adds a lovely finishing touch but it it completely optional - your cloth will work just fine without it!

Textured dishcloth with colourful binding

Using 4mm needles and craft cotton or another dk cotton yarn of your choice cast on 44 stitches

Row 1 : k2, p2 to the end
Row 2 : p2, k2 to the end
Row 3 : p2, k2 to the end
Row 4 : k2, p2 to the end

Repeat those four rows until your work measures approx 20cm (around 60 rows)

Cast off.

Sew in the ends.

Binding the cloth is easy using the same method as for my Pretty Pot Holder - start from one corner if you want to add a hanging loop like the pot holder or at the centre of one side for a neat finish with no loop. Stitch the binding by hand or machine if you prefer. When you get back to the start, tuck the end under and secure the overlap with a few extra stitches.


Heart Pattern Dishcloth

This cute heart patterned cloth is almost too pretty to do the dishes with! If you really can't bring yourself to use it in the kitchen it would also make a lovely face cloth. Wrap it up with some handmade soap - I love these by Saffronbarr - and you have a perfect gift for a friend!

Please don't be put off by the rows of numbers! It is only knit stitches and purl stitches. Just take each row at a time...

Using 4mm needles and craft cotton or any other DK cotton yarn cast on 45 stitches.

Row 1-7 : Knit
Row 9 : Knit
Row 10 : k5, p35, k5
Row 11 : k13, p2, k15, p2, k13
Row 12 : k5, p7, k4, p13, k4, p7, k5
Row 13 :  k11, p6, k11, p6, k11
Row 14 : k5, p5, k8, p9, k8, p5, k5
Row 15 : k9, p10, k7, p10, k9
Row 16 : k5, p3, k12, p5, k12, p3, k5
Row 17 : k7, p14, k3, p14, k7
Row 18 : k5, p2, k14, p3, k14, p2, k5
Row 19 : k6, p16, k1, p16, k6
Row 20 : k5, p1, k16, p1, k16, p1, k5
Row 21 : k6, p16, k1, p16, k6
Row 22 : k5, p1, k7, p2, k7, p1, k7, p2, k7 p1, k5
Row 23 : k7, p5, k4, p5, k3, p5, k4, p5, k7
Row 24 : k5, p3, k3, p6, k3, p5, k3, p6, k3, p3, k5
Row 25 : Knit
Row 26 : k5, p35, k5
Row 27 : Knit
Row 28 : k5, p35, k5

repeat rows 11-28 twice more.

Knit 7 rows and cast off.

Sew in ends.


There you have it - a simple way to pretty up your kitchen and make washing the dishes a little more pleasurable. Or a little less of a chore at least...

*Abakhan send me all the materials I need for my Creative Budget posts. No other payment has been received. All words, pictures and tutorials are my own.

Tuesday, June 25, 2013

Pretty pot holder tutorial

A few weeks ago I showed you my latest bundle of pretties from Abakhan and a tutorial for an easy peasy reversible tea towel.


Now I am going to show you how to make a really cute matching pot holder - an essential piece of kitchen kit if, like us, you have a stove top kettle (boy, does that handle get hot!).


You will need

  • 2 x 15cm squares of your chosen fabrics (make sure they are natural fibres - cotton, linen or wool - polyesters are really not a good idea near heat!)
  • 2 x 15cm squares of cotton batting/wadding or a couple of layers of old cotton towel 
  • bias binding
  • matching thread


Sandwich your squares together with both of your chosen outer fabrics right way out and layers of cotton wadding in between.

Using a ruler ( I used an old plastic 30cm ruler from school) mark out a diagonal grid on the fabric with light pencil marks, tailors chalk or vanishing fabric marker pen. Pin through the stack to hold it together then stitch along the lines - by hand or machine - to quilt your fabric.


If you have used a machine it should look something like this...


flip it over...


All quilted - it really is that easy!

Now to add the bias binding.  Start in one corner. Open up the binding and place the edge of the binding up against the raw edge of your quilted square.


Pin it in place if it helps and, using neat back stitches sew it into place along the crease, easing it around the corners as you go.


Try and keep the stitches small and even - you won't see them but it makes for a neater finish! You can machine stitch if you prefer, it is much quicker, but I find it much easier to get the corners right when I do it by hand!

When you get back to where you started leave a length of binding a couple of inches long - this will be turned into the hanging loop.   Now fold the binding over the raw edge of your pot holder and, using a whip stitch to catch the binding to the layers of fabric...


Again try and keep the stitches small and neat as you will see these ones and ensure the binding covers over the back of the row of stitching you did to attach the binding to the other side. When you get back to your first corner continue the whip stitches up the length of binding to catch the two sides together then fold it round to create a loop and stitch the end down


And there you have it - one pretty pot holder to match my pretty reversible tea towel!


I have enough fabric  and wadding left over to make oven gloves too - there are lots of tutorials online like this one from Liberty or maybe this double mitt from a little gray.  I promise I'll show you the result.

I do still have one more tutorial for you from the 'kitchen makeover' Creative Budget bundle - the knitty one I promised yesterday.  It's coming soon...


Saturday, May 25, 2013

#CreativeBudget - Pretty Reversible Tea Towel Tutorial

Sometimes, when money is tight, you just have to make do with what you have - even if it is falling apart/unpractical/you just hate it.

My kitchen is a prime example.

 The oven died the week before Christmas a couple of years ago. We had no money so we had to settle for the cheapest one we could get delivered and fitted as quickly as possible. What we had hoped to do was wait until the January sales to replace the dying cooker but fate clearly decided that was not going to be an option. The oven we ended up with truly was cheap and nasty - it works but the temperature gauge is iffy and the dial seems to turn by itself and heat the oven way too high resulting in stuff burning if you turn your back for five minutes. Unfortunately the company who supplied and fitted it (badly) have since gone bust and disappeared. We can't afford another so I'm stuck with it.

My sink is the same - a horrid white 'textured' plastic thing  - textured means it traps every speck of dirt that comes close to it and white means the dirt shows - no matter how hard I scrub it with bleach!  But it's a non standard size so not just a simple case of ripping it out and sticking a nice shiny stainless steel one in.We would need new worktop too...

 But we have no spare money so we have to make do.

 (I did manage to get some new cupboard doors for free a while back - they're not perfect but they were a lot better than the drab grey we had before! You can read about that here )

Thankfully there are ways you can change things up a little without spending too much cash!

My Abakhan creative budget project this month has been all about cheering up my kitchen and I had this little bundle of sweetness to do it with...


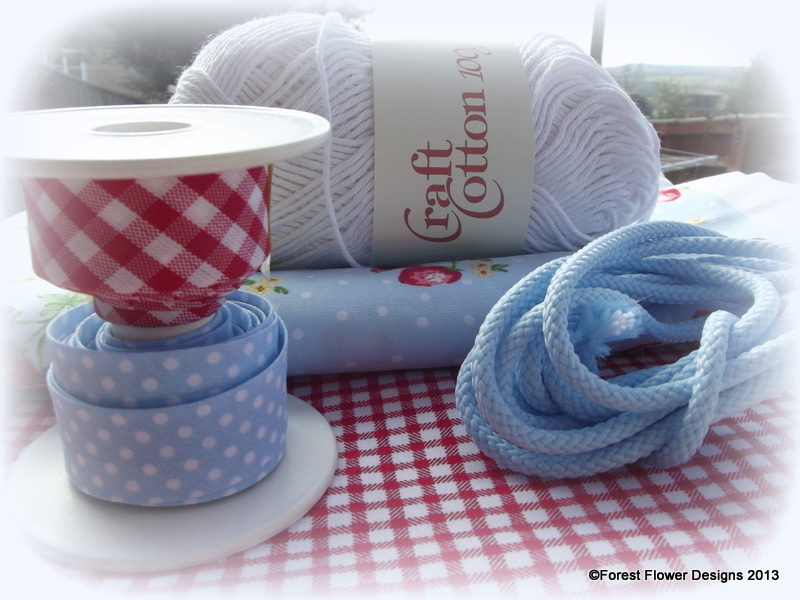
1 metre red cotton Gingham
1 metre sky blue strawberry print cotton (currently out of stock)
red gingham bias binding
blue polka dot bias binding
sky blue cord
100g ball white craft cotton


Nothing says cosy country kitchen better than red gingham don't you think? And the beautiful sky blue cotton  with strawberries and polka dots (always a winner in my book) is just perfect for kitchen accessories. Bright red and sky blue is one of my favourite colour combinations too!


The first thing I made with my fabric was this really simple reversible tea towel.

Simple Reversible Tea Towel Tutorial


You need four pieces of fabric - One 45cm x 45cm and one 15cm x 45cm in main fabric plus one 45cm x 45cm and one 15cm x 45cm in a contrast fabric.

Pin the small contrast fabric rectangle to the main fabric square along one 45cm edge and sew together using a 5mm seam allowance.
Do the same with the contrast fabric square and the small rectangle of main fabric.
Press the seams open.

You should now have 2 rectangles of fabric measuring approx 60cm x 45 cm


Pin your two rectangles right sides together, making sure you line up the seams where you have joined the panels as best as you can, and stitch all the way around, again using a 5mm seam allowance.

Leave a 10cm gap on one edge so you can turn your work the right way round. Trim the corners, turn and press.


Sew a row of top stitching (that's just a normal straight stitch that is visible rather than being a seam) in a contrast thread - I used red - as close to the edge of the tea towel as possible - this holds the fabric in place and closes up the gap you left to turn.

And that is it. Simples.


I love it! (I may have to force myself to actually use it though - it's so pretty!)

I think a bundle of these in co-ordinating fabrics would make a wonderful new home gift.  Add a matching pot holder, oven gloves, an apron and pretty knitted dishcloth (tutorials for all of these will follow in the next couple of weeks) for a pretty and practical gift that can easily be customised to suit the tastes and decor of the recipient.And all for under £20.


P.S.  Polka dots and gingham not your thing? Abakhan have a great selection of 100% cotton fabrics that would work well for this project. I am particularly loving this bird print which would look lovely with the checks or stripes.


As always I had a £15 budget to spend at Abakhan who supplied this bundle of goodies free of charge. No other payment has been received.

Monday, June 06, 2011

#MagpieMonday - My FREE Kitchen

Me and My ShadowHaven't done a Magpie Monday post for a few weeks but this week I became the ultimate magpie and managed to pick up a whole new look for my kitchen - FOR FREE!!!!
I came home from shopping the other day to see a couple of cupboard doors lying on my neighbours lawn.
I knew she had the same original fitted kitchen in her house as I had in mine except hers was a nice pale beech effect whilst mine was a dingy silver grey. I have hated it ever since we first moved in.
The cupboards themselves are sound and sturdy so there was no justification to replace the whole lot (even if we could have afforded to). The hinge on the corner cupboard broke off about 2 years ago and that door has been propped up against the gap ever since (I know, I know - I don't know how I put up with that for so long either!)  I even began painting over them but as ever it was a spur of the moment thing that I started but never finished...
So I wasted no time knocking on her door - well sometimes you have got to take the bull by the horns and I am not proud...
'So are you getting a new kitchen then?'
'Yes' says neighbour, with a grin.
'What are you going to do with the old one? If you're just going to get rid of it would you mind if I nabbed the doors?'  Not a problem, says my (lovely) neighbour. She even tells me to add the old ones to her pile of rubbish and she'll get rid of them for me!

Now there were a couple of snags - the main one being that her kitchen is the mirror image of mine - this means that I had to swap all the hinges around and now all my cupboards open on the opposite side to previously which is going to take a little getting used to. The only one I couldn't do this with was the the narrow wall cupboard in the corner so I had to put the door on upside down with the handle at the top. As this is used as the medicine cupboard it's not the end of the world  - there's no way the Little Man will be able to reach it to open it - even I have to stand on tiptoes!

The little panel that goes under the sink needs the brackets refitted - the holes are just a few millimeters out and  the panel that sits under the cooker is missing coz next door had a free standing cooker not a fitted one - but that's nothing a bit of cream gloss can't sort out.

I think you'll agree the finished result is a massive improvement!
And yes, I did it all myself!!

Now all I need to do is paint over the 'sunny' yellow (what was I thinking?) with a nice country cream and source some new flooring from somewhere. Then maybe, as I have saved so much on the kitchen I might add a few new accessories - from the charity shops of course.
Related Posts Plugin for WordPress, Blogger...
Blogging tips