Tuesday, July 30, 2013

Works-in-Progress Linky - I'll show you mine if you'll show me yours...

Welcome to the very first works in progress linky post - aka WIPsLinky!

I am really excited to get this idea up and running - I really hope that now you are here and reading you'll want to join in too.  If this is your first visit to my blog here is the post I wrote last week as an introduction to the WIPsLinky idea. Go have a read if you like. I'll still be here when you get back...

Hello again!

So I am going to show you a couple of projects I am working on right now - both of them seem a little incongruous given the warm weather we have been having of late but, as most crafters (particularly those who knit or crochet) know there is no point in waiting until it's cold to create things to keep you warm...

crochet in the park...
First up - I have had some Hayfield Bonus Galaxy yarn floating around for some years. I think I bought it with the intention of making something cute and snuggly for Roo when he was tiny but didn't get around to it. It's been discontinued so I am unlikely to be able to get any more and I only have 2 balls each of blue and green. So I am using a 5mm crochet hook and making a pile of basic closed granny squares - I have absolutely no idea how many my yarn will make or what I'll do with them when they are done ( Lap blanket? Cushions?) but it feels kind of good to finally be using something that has been stashed away for best part of 5 years!  When I have used up all the yarn I will make the decision.

I love that granny square projects are so portable, all you need is your hook and some yarn. Even if you are bit rusty, like me, you only need to make a couple with a pattern in front of you before you can whip them up without the pattern wherever you are!


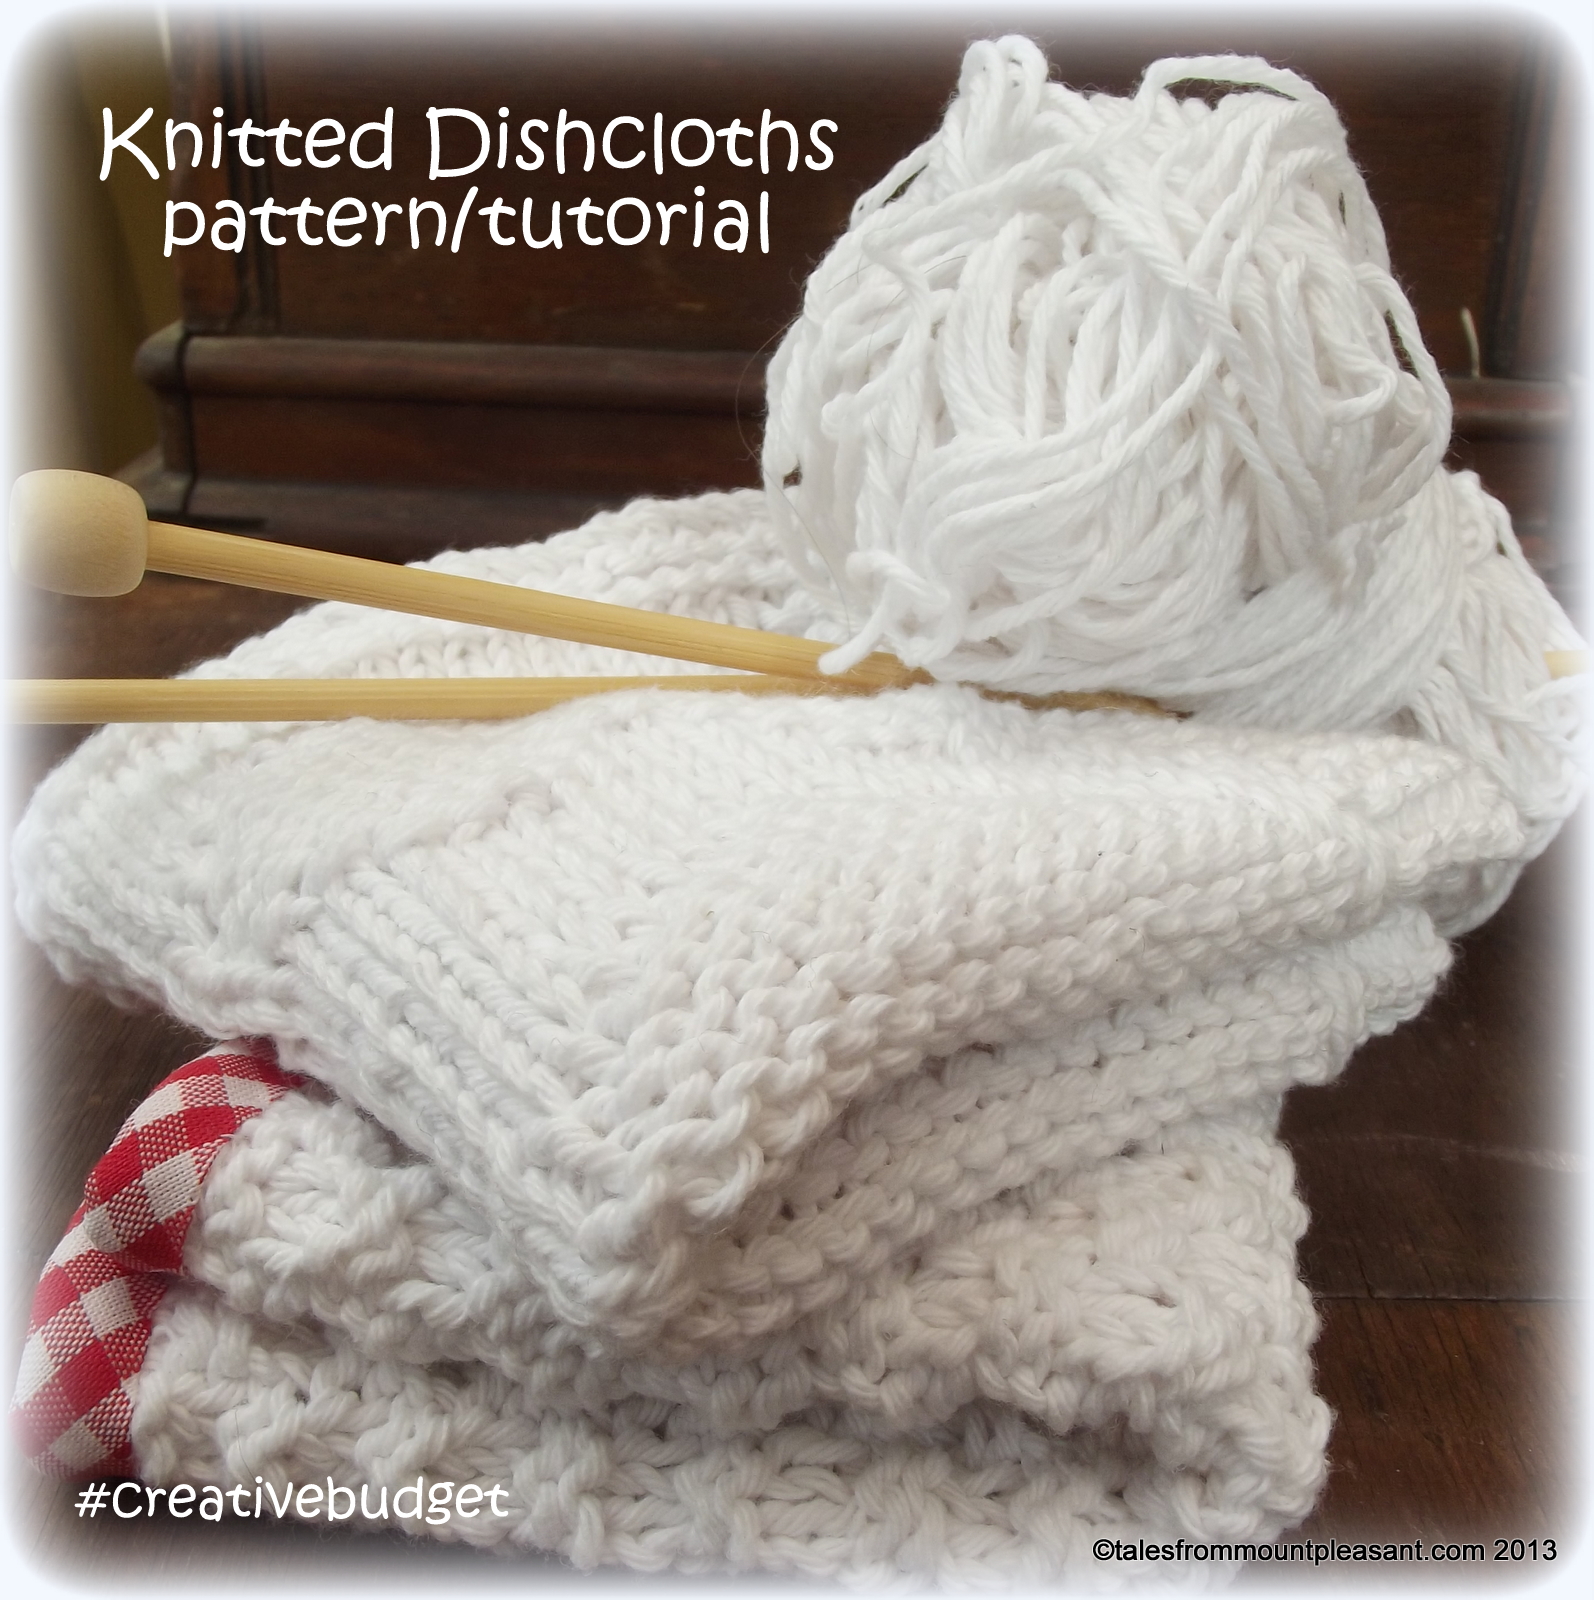
Next up is one of those projects I have been waiting to start for a long time. The pattern came from my mum's collection of 'The Knitter' magazines. We love 'The Knitter' because it is aimed at more experienced knitters than most mainstream knitting mags and has some wonderfully challenging projects.


This one is a cabled blanket made up in panels of different sizes with lovely, intricate cable patterns on each panel. I adore cable knits - there is something inherently snuggly about a chunky cable knit don't you think? I love them so much I have a whole Pinterest board devoted to them!


Anyway, the biggest hold up has always been getting the yarn - this throw uses a lot of yarn - as is the way with all these patterns the specified yarn, although beautiful (50% wool/50% lama!) is WAAAAYYYY out of my budget! Luckily for me my mother-in-law had some rather nice wool mix arran yarn from Stylecraft in a beautiful charcoal grey colour - enough to knit this whole blanket in the same colour instead of a rainbow patchwork (although that would be nice too!).


I have started on the first panel - a long, thin strip of cabling that basically an 8 row repeat. It's not too complicated and doesn't require much concentration so it's good to do while watching tv. I have a feeling the large Celtic knot panels might require a bit more focus though!


We're off on holiday tomorrow so I will be taking this one with me, just in case the weather does it's worst. After all what is a holiday but an excuse to knit for hours on end without feeling remotely guilty?

So there you have my current Works-in-Progress - now show me yours!

Link up your #WIPsLinky blog post below. If you want you can add a link to this post at the end of your post (I am working on a 'grab my button' code. Honest!)

Please use the #WIPsLinky hash tag on Twitter/Google+/Facebook if you want to shout about this linky to your friends too! I will also be setting up a WIPsLinky pinboard on Pinterest.

I am looking forward to seeing what you are up to!

ps: the Linky will be posted on the last Tuesday of each month, the current one will stay open until the day before new one comes up so you have plenty of time to link up and join in!

Saturday, July 27, 2013

Sunshine days are numbered...

Apparently this is the week the weather will break. Maybe today, maybe tomorrow but definitely very soon.

I am not surprised. We are off on holiday on Wednesday - just a few days down in Devon, near Ilfracombe - so of course this glorious sunshine is going to end just in time for our once a year trip to the seaside.

 *sigh*

Actually it may not be that bad but I am not counting my chickens and making sure I pack plenty of activities for Roo. Just in case...

Yesterday, however, was glorious so we had a little day out with Nonny and Roo's Great Great Auntie. We stayed local, calling by at Lydney harbour (we'll be coming back with a picnic later in the holidays!)...

one boy and his Nonny

A log bench with rope carving

boats!


exploring the locks

view down the River Severn from sea gate


...then on to the park. There is a great little cafe here, plenty to keep Roo occupied and some lovely flower beds, mature trees and a pretty fountain to look at. I even managed to get my crochet out while Roo was playing :-) Unfortunately there is nothing like this in our home town and we have to travel 20 mins or so in the car (when we can get a lift) or catch a bus. But it's well worth it!

Big slide!


monkey boy...


at the top


swings and shadows


me and my shadow...


We had a really nice day. Fingers crossed it's not the last day of summer...

Tuesday, July 23, 2013

A new linky - share your WIPs!

I blog a lot of tutorials in my role as a Jane Means Ribbon Blogger and an Abakhan Creative Budget Blogger, as well as new Forest Flower designs when I add them to my Folksy shop but I don't often take the time to show off the little (and not so little) projects I work on - usually in the evenings whilst watching TV or listening to music - little things for the home, for Roo, presents for friends and family and those new techniques or ideas I spot on Pinterest or between the covers of Mollie Makes...

Some of these projects are on-going (which means I have been working on them forever!) Others are what I call 'Sunday afternoon makes' - little things I rustle up while the boys are watching the motorcycle racing. There is usually at least one gift being made, if not for an upcoming birthday than to go in the Christmas box. Occasionally I even make something for myself!!

a current WIP - should be completed by next week's linky...

I thought it would be a nice idea to start up a works-in-progress (aka WIPs) linky where we can all share the projects we are working on, the projects we would LIKE to start, the ones we need encouragement to finish...

I am planning to post the WIPs linky on the last Tuesday of each month - so the first one will be next Tuesday 30th July - and the linky will stay the whole of following month so as many of you as possible can join in. I will be working on a little bit of coding so you can add a badge to your post to encourage your readers to head over to the linky and join in and maybe discover some new blogs in the process.

I hope that lots of my crafty blogging friends will take join in once a month. Linkys are a great way to discover new blogs so I hope that all of you who do link up take the time to check out the other blogs on the linky too!

#WIPsLinky will be announced on Twitter/Facebook/Google+ so please follow/like/add if you want to see the reminder or subscribe to the blog by email and it will be sent directly to your inbox.

I look forward to seeing all of your works-in-progress next week!

Saturday, July 20, 2013

Knitted Dishcloth Tutorial

Here is the last part of my Creative Budget 'Kitchen makeover' series.  You'll need your knitting needles for this one!!

Don't panic though these two cute dishcloths really are very simple to make - if you can knit and purl you can rustle them up in a couple of evenings whilst watching the tv. If you want to learn how to knit so you can have a go there are many online tutorials. Here's a great one from Debbie Stoller, author of the 'Stitch 'n Bitch' book series. (It doesn't include purl stitches but there are many others that are easy to follow once you have the basic technique!)


Hand knitted or crochet dishcloths last so much longer than shop bought ones and look so much nicer drying over your dish drainer. Wash them regularly in with your tea towels to keep them clean (don't expect them to stay pristine and white for long though!). I have used craft cotton but any DK cotton would do. Or any DK yarn at all really. Use up what you have around the place and don't feel that you have to stick with white!

I made both cloths with one ball of craft cotton from Abakhan and there is probably enough left over for another cloth too (I may make another cloth with some of the pale blue polka dot binding I have left over from the pretty pot holder make) The simple basket weave effect pattern makes gives this cloth a good texture - excellent for getting those stubborn bits of food off your plates when washing up. The bias binding neatens up the edges nicely and adds a lovely finishing touch but it it completely optional - your cloth will work just fine without it!

Textured dishcloth with colourful binding

Using 4mm needles and craft cotton or another dk cotton yarn of your choice cast on 44 stitches

Row 1 : k2, p2 to the end
Row 2 : p2, k2 to the end
Row 3 : p2, k2 to the end
Row 4 : k2, p2 to the end

Repeat those four rows until your work measures approx 20cm (around 60 rows)

Cast off.

Sew in the ends.

Binding the cloth is easy using the same method as for my Pretty Pot Holder - start from one corner if you want to add a hanging loop like the pot holder or at the centre of one side for a neat finish with no loop. Stitch the binding by hand or machine if you prefer. When you get back to the start, tuck the end under and secure the overlap with a few extra stitches.


Heart Pattern Dishcloth

This cute heart patterned cloth is almost too pretty to do the dishes with! If you really can't bring yourself to use it in the kitchen it would also make a lovely face cloth. Wrap it up with some handmade soap - I love these by Saffronbarr - and you have a perfect gift for a friend!

Please don't be put off by the rows of numbers! It is only knit stitches and purl stitches. Just take each row at a time...

Using 4mm needles and craft cotton or any other DK cotton yarn cast on 45 stitches.

Row 1-7 : Knit
Row 9 : Knit
Row 10 : k5, p35, k5
Row 11 : k13, p2, k15, p2, k13
Row 12 : k5, p7, k4, p13, k4, p7, k5
Row 13 :  k11, p6, k11, p6, k11
Row 14 : k5, p5, k8, p9, k8, p5, k5
Row 15 : k9, p10, k7, p10, k9
Row 16 : k5, p3, k12, p5, k12, p3, k5
Row 17 : k7, p14, k3, p14, k7
Row 18 : k5, p2, k14, p3, k14, p2, k5
Row 19 : k6, p16, k1, p16, k6
Row 20 : k5, p1, k16, p1, k16, p1, k5
Row 21 : k6, p16, k1, p16, k6
Row 22 : k5, p1, k7, p2, k7, p1, k7, p2, k7 p1, k5
Row 23 : k7, p5, k4, p5, k3, p5, k4, p5, k7
Row 24 : k5, p3, k3, p6, k3, p5, k3, p6, k3, p3, k5
Row 25 : Knit
Row 26 : k5, p35, k5
Row 27 : Knit
Row 28 : k5, p35, k5

repeat rows 11-28 twice more.

Knit 7 rows and cast off.

Sew in ends.


There you have it - a simple way to pretty up your kitchen and make washing the dishes a little more pleasurable. Or a little less of a chore at least...

*Abakhan send me all the materials I need for my Creative Budget posts. No other payment has been received. All words, pictures and tutorials are my own.

Thursday, July 18, 2013

#VegBoxChallenge - Grilled Mediterranean Veg


I haven't done a veg box post for a while - not because I haven't had lovely veg boxes but more because it's been so hot I have had to get the contents in the fridge asap and have completely forgotten to photograph the contents!

Dinners the last couple of weeks have consisted mostly of salad, of the leafy, potato or grated/chopped veg variety. There are very few veggies that really cannot be eaten raw in a salad. Grated carrot, courgettes and beetroot, finely chopped (very fresh) mushrooms, small florets of broccoli, fennel, chicory, all manner of  leaves, tomatoes, peppers, slivers of onion, fresh chopped herbs and dressings of olive oil, lemon juice and vinegar or mayonnaise mixed with a little plain yoghurt and chives from the garden have graced my plate.

(The Other Half, however,  is still resolutely clinging to his beans on toast and bacon sarnies... )

One dish I love in the summer is roasted Mediterranean veg - aubergine, courgette, peppers, onions, garlic and cherry tomatoes, chopped into chunks, tossed in olive oil, seasoned and roasted in a hot oven for about half an hour. I love how the onion caramelises and the individual cloves of garlic taste so sweet cooked this way!


Look what was in my box this week! There was a large courgette too but I couldn't fit it in the piccie... plus I still had a bulb of garlic left from last week's box! All the ingredients I need for my favourite summer food.

Except we still don't have an oven that works...

So I decided I would grill it instead!  I prepared the veg just as I would normally and placed the roasting tin lower down in the oven than I would when grilling, say, fishfingers, then turned the grill up to full heat. I had to give the veggies a good stir every five minutes or so but they were done in about 15 minutes!  Less than half the time they would take 'roasting' normally!

I tossed them into some pasta that already had a little red pesto stirred through it and served with some torn mozzarella.  I would have loved to have added some fresh basil too but unfortunately I don't have any right now.


Doesn't it look tasty? It was gorgeous. Who needs an oven?*


*well me, actually. I really don't think you can grill cake and cookies and boy do I miss home baked cake and cookies...

Wednesday, July 17, 2013

Guest Post :: Following forgotten footsteps...

Just think. The next time you fly across Europe, the Atlantic or beyond in a comfortable, air-conditioned plane you could be repeating history several times over.

By accident you might mimic Jack Kerouac's On The Road route, the Inka Trail or where Ernest Hemingway discovered his writing passion in Paris.

Wherever you go across the globe, there's a chance you could be following forgotten footsteps. Indeed, the world has been trod by thousands of feet in ancient and modern times. And, to follow your dreams rather than just a map, it could make sense to find out about the route first, and prepare for the usual aspects such as travel insurance cover, travel money or learning foreign phrases.

Here are six historic routes to follow: 


1. Join a Julius Caesar tour in Rome (Italy) 

A priest, a soldier, a politician and widely accepted in Ancient Rome as a descendant of Venus, The Goddess of Love, Caesar was a man and a half. Walking tours will take you to the sites of his birth and death, following the bendy streets of his reign, and where he made his epic speeches. Discover more about Ides of March tours and his legendary assassination by a group of Senators.

2. Lands End to John O'groats (UK) 

Robert and John Naylor were the first known people to walk continuously from John O'Groats to Land's End in 1871. You could choose a different mode of transport and route to make the journey more interesting - by plane, train or automobile if you think the blisters will be unbearable!

beautiful Lands End


3. Inka Trail (Peru)

The Incas were an ancient people who lived in South America until the 1570s. Their key legacy is the Inca Trail, heralded as the most famous trek in South America. Some 26 miles long, it blends beautiful mountain scenery, lush cloud-forest, and a magnificent mix of Inca paving stones, ruins and tunnels. The Pièce de résistance is the Lost City of the Incas.

4. The history behind Hemingway's Movable Feast book (Paris)

The famous writer, Ernest Hemingway, was renown for taking many of his writing cues from Paris. Start a Hemingway walk at the collectible Censier Daubenton station on line seven. Take his book, A Moveable Feast, with you, a memoir of his Paris days; mandatory reading for Hemingway followers.

5. Jack Kerouac's 'On The Road' route (US)

Why not hit the road like Jack Kerouac did in the late forties and make your own memories for a book, like he did in his, On The Road? You could follow your nose along many of Kerouac's old haunts, bearing in mind you would need many months to complete the epic trip. New York to Desert Denver and San Francisco – and down in Mexico were just a few of his stomping grounds.

6. Derry to western Ireland

Not all routes are long-forgotten. Traveller writer and broadcaster Michael Palin's second Great Railway Journey (1994) took him from the ancient walled city of Derry to the most western tip of Ireland. Why not take in some majestic Irish countryside by rail rather than road…?

Follow those footsteps.

This guest post was written on behalf of Money Matters, the Sainsbury's Bank blog. Though it may include tips and information, it does not constitute advice and should not be used as a basis for any financial decisions. Sainsbury's Bank accepts no responsibility for the opinions and views of external contributors and the content of external websites included within this post. All information in this post was correct at date of publication.

Tuesday, July 16, 2013

Summer fete fun

Nothing says 'summer' more than school fetes! This year I was invited along to the Heart of the Forest School fete along with my craft fair partner in crime Miss Willow to show off my makes and help raise a little much needed cash for this fab community special school.

It was a beautiful sunny day - ok it was a swelteringly HOT day!  Luckily most of us had gazebos or garden parasols for shade and there was even an occasional hint of a breeze to take the edge off...

The fete was everything a good school fete should be. There was plenty to keep the kids occupied - bouncy castle, coconut shy, skittles, a zip wire, a police car and a fire engine for them to climb about on (and set off the siren in...) not to mention the fabulous play ground that has recently been completed!

We all had a great day - met some new customers, made some new friends and donated 10% of our takings to the school fund too.

Here are a few pictures of our day...


Hurrah for gazebos! Not only do they keep the sun off but they also make handy bunting display space too!!


Lots of lovely stalls...


No, I wasn't in trouble (for a change ;-) ) it was a there purely so the kids could play with the siren. Which they did. A lot...


Live music


Lovely vintage motor!


Roo helped out a bit too - here he is in a rare 'not-playing-up-for-the-camera' shot, modelling his favourite 'Sweet Lavender Kitty'...


...and a more normal 'properly-playing-up-for-the-camera' shot!!

We had a lovely day and after years of rubbish summers I think schools around the country must have breathed a collective sigh of relief that this year the summer fete season has truly felt like summer!!


Wednesday, July 10, 2013

#WordlessWednesday 10/07/13


Bye bye baby seat , hello booster seat!

There are plenty of articles out there telling you just how expensive raising a child is, and to be fair if you buy everything new it can soon add up. We were lucky to have lots of very generous friends who gave us bags full of clothes and toys. Roo's cot was from a charity shop as was his pushchair. One of the only things we couldn't purchase second hand was a car seat. Money has always been tight so it's good to know there are companies like K and Co online that offer interest free credit to help cash strapped families get the essentials they need WHEN they need them!

 Just over four years ago we faced the prospect of buying a new car seat for Roo. At six months he was rapidly out growing his first baby seat - the cute little carrier we brought him home from hospital in - he wanted to sit up, to look around, to see where he was going rather than look at the back of the seat.

Roo at six days old. So, so teeny!!


There are so many car seat designs so we had already done a bit of research and had an idea of what we wanted - based mainly on what we could afford! - and off we went to be 'fitted'.  I will never forget the look on the sales woman's face when we took her outside to assess which seat we would need for our vehicle. We are not a two car family. Technically we are not even a one car family. All we had was a large white van which the Other Half used for his business. Which means it is mainly used for fetching and delivering motorbikes. Certainly not your average family runaround...

The sales woman brought out a succession of seats (including the one I had my eye on, which I knew was on offer) dismissing them one by one as 'not as safe it could be due to the positioning of the seatbelt'. Now I understand the importance of safety but I am a child of the 70's - I can remember me and my four siblings rolling about in the back of an Austin Maxi without a seat belt between us let alone padded head guards and reclining seats! In the end she settled for one that cost nearly as much as the old banger we had before we bought the van and to our eyes looked no more or less stable than all the others she had tried before, but not after she suggested that it might be worth considering buying a car!  We smiled, thanked her for her time, went home and ordered the original seat we had planned on purchasing online.

Roo, being the lanky streak that he is grew out of that seat last year and we have been using a second hand booster seat (booster seat NOT baby seat - he gets most indignant!), but the foam padding is wearing thin and is really quite uncomfortable for anything longer than the 5 mins ride home from Nonny's house. So we need a new one. And as we are off on holiday in less than four weeks, we really need to get one now!

*This Featured post was written in partnership with Kay & Co but all words and opinions and photo's of cute baby in carrier are my own ;-)

Wednesday, July 03, 2013

Handmade Wedding bunting idea...

The other day I received a call for help from a friend of mine.

She has a family wedding coming up and the bride and groom, wanting a rustic, handmade feel for their big day, had requested that the guests each send a handmade bunting flag. Their idea is to stitch all the flags together to make a beautiful and totally unique addition to their wedding decorations.

What a wonderful idea!! Not only does this get everyone involved in their wedding preparations but at the end of it they have a gorgeous keepsake to remind them of their special day and all the people that came together to make it even more special.

But why did she need my help?

Well to use her own words "How does one sew?...(The whole family) know I can't even sew on a button!"

I hate to leave a friend in need and, lets be honest I don't need much encouragement when it comes to sharing crafty stuff!  I arranged to pop over and give her a hand. I wasn't going to make it for her, just give her a few pointers. Plus we get to drink lots of tea and have a natter too. Sounds like the perfect morning to me :-)

I took along a little bundle of materials and trimmings that fitted in with the 'rustic' theme. Fran wanted a natural look...

pretty crafty things....


Pretty natural fabrics, lovely cream and sage spotty ribbon from the Jane Means collection, some pretty pompom trim and a selection of vintage lace, buttons and embroidery threads.

We sat and talked ideas and Fran chose the base fabric she wanted. Then we set about appliqueing a gingham heart. Poor Fran's hands were shaking as she applied the first few stitches but she soon got the hang of it!

first tenative stitches


She added three rows of vintage lace trim, then we made a little bow with the spotty ribbon and attached it to the flag with a heart shaped wooden button.

buttons and bows

Now confident that, yes, she could actually sew on a button, Fran added a couple more and finished off the flag with some cute cream coloured pompom trim from Seamstar .  Once she was happy with her work she cut out the flag.

steady....

Fran was so pleased with her finished bunting...

proud crafter!

...and so she should be! The girl who said she lacked creativity and had absolutely no idea what to do and how to go about it, I think she did a pretty damn fine job, don't you?


The lucky couple have received the flag now and they love it too - it's going to look so pretty strung up with all the other handmade flags from their other guests!


It's such a fabulous idea and the perfect way to celebrate such a happy day :-)


ps - Fran agreed to have these pictures taken of her work in progress, just to prove to the rest of the family that actually, she can sew on a button. And more besides!


Monday, July 01, 2013

'Boost your stash' Giveaway Winner!!

Wow! I was a little overwhelmed by the number of entrants to my little giveaway!  I think one or two lovely people may have shared it on MSE as a lot of traffic came from there over the weekend! Whoever you are, thank you!

It took me best part of an hour to collate all the entries from here, facebook and twitter, writing all the names on slips of paper, folding them up ready for the drawer...

Let me introduce my special, utterly non-biased but very cute assistant - Roo


**Congratulations**

Mia Fergusson


Mia left this comment on the blog post and also entered via facebook and twitter
"i would love to win , there is so many things i could make but id love to give making teddy bears a try."
I would love to see what you do make with your new bundle, Mia!

Thanks to everyone who took part and if you would still love some of that beautiful fabric I have the fat quarter bundle for sale here at the special price of £9.99. I'll even refund the postage charge if you message me when ordering mentioning that you entered the 'Boost your Stash' giveaway.

5:2 update - little steps

Well today marks four weeks on the Fast Diet or 5:2 plan - I explained a bit about it here when I first started the plan (still refusing to use the 'd' word!)

So how is it going?

Well I lost 2lbs a week for the first two weeks, 1 1/2lb in week three and only 1/2lb last week. I am not surprised at this, in fact given the amount of ice-cream that has been consumed over the last few HOT days (yes, we have SUMMER!!!) I am amazed I lost anything at all!!

A total of 6lbs in four weeks is not to be sniffed at and if it feels a little slow I am grateful that at least I weigh 6lbs less than I did on 1st June. We all know that crash dieting and rapid weight loss are not good for us and long term weight loss so I am happy to be taking these little steps.

HOWEVER

I do think I need to curb my enthusiasm on non-fast days a bit! It's all well and good saying you can eat whatever you like on a non-fast day but I doubt that includes snacking on a whole pack (100g) of BBQ coated peanuts through out one day. Yes, I did that. They were yummy but they will not be entering this house again...  ;-)

We've had a few knock backs this week too - mostly money related (aren't the always?). Amongst other things, the heating element of our cheap and nasty cooker has died and no-one seems to be able to find a replacement...  Luckily everything else seems to work ok so we can still grill and stove top is separate and I have a slow cooker and microwave so in the grand scheme of things it's not the end of the world.  I have discovered a number of half about microwave cake recipes and made pasta bake in the crock pot. The Other Half's Friday night pizza proved a bit trickier - I went for sliced baguette topped with tomato puree and herbs and sprinkled with grated mozzarella cheese and grilled. It seemed to go down well. The oven will have to be sorted some time though (microwave jacket potatoes are NOT the same) - but whether we can get a replacement element and get it fixed or have to find the money for a new one remains to be seen.

The point of the above paragraph (apart from having a moan about our crappy cheap cooker) was to excuse my chocolate munching over the past week too. It's not really an excuse though is it?  One day I will learn not to use food (chocolate) as comfort...

Weight is not the only measurement I have been taking. I measured myself on the 1st June too and have just measured again - an overall loss of 171/2 cm - including 51/2 cm (that's about 2") off my waist and 3cm off my midriff (ie the belly fat)  My clever scales also tell me that, of the 6lb loss. 3lb of that is fat! I'm happy with that.

Little steps...
Related Posts Plugin for WordPress, Blogger...
Blogging tips